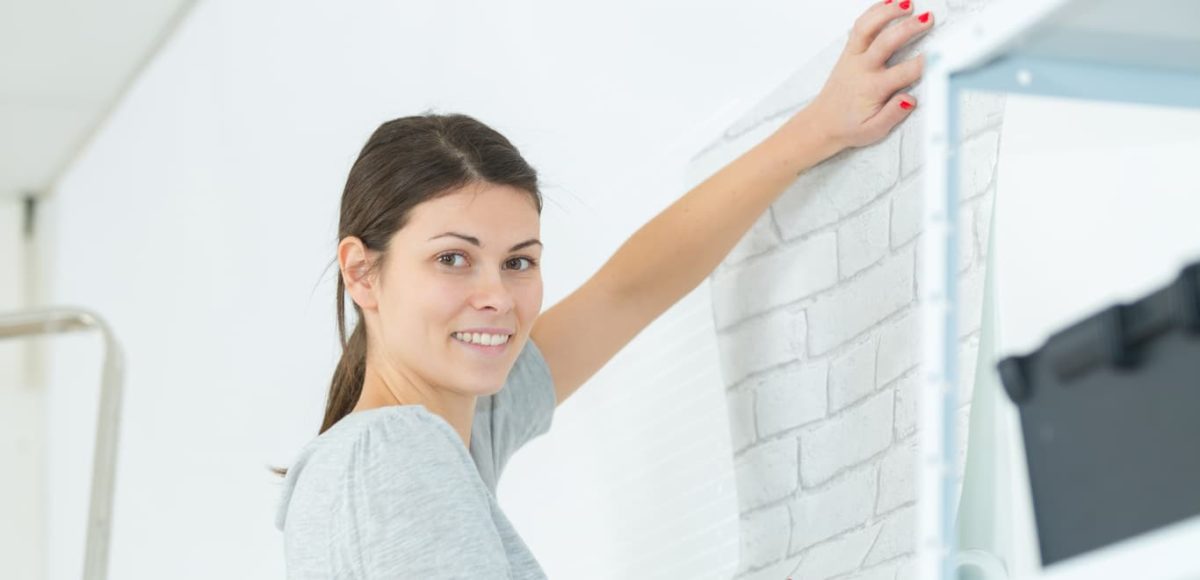
Just because you rent doesn’t mean your home should feel less like you! Adding temporary wallpaper is an excellent way to add color to your walls when decorating on a budget (and without losing your deposit). Learn tips and tricks on how to decorate apartment walls using apartment-friendly wallpaper!
Supplies you’ll need to apply temporary wallpaper:
- Adhesive wallpaper
- Straightedge
- Level
- Utility knife
- Measuring tape
- Pencil
- Smoothing tool
How to apply temporary wallpaper:
Step 1: Choose your wallpaper.
Research top brands of temporary wallpaper (and don’t skimp on the quality). When you know what kind you want to use, pick out the color and/or pattern. Take your time making the decision!
Step 2: Measure and purchase the wallpaper.
Measure the area of the wall you are wallpapering to find out how much you’ll need. Double-check your measurements before you purchase (but the good news is you can always purchase extra panels).
Step 3: Clean the wall.
Remove all photos, mirrors, outlet covers, etc. from the wall. Dust the wall and clean it thoroughly with soap and water or a multi-purpose cleaner (the cleaner it is the easier it is to apply and remove). Let dry completely before you begin wallpapering.
Step 4: Mark your starting point.
Find a plumb vertical line if there is one, but molding and corners aren’t guaranteed to be straight, so check with a level. If it isn’t, use a straightedge and level to draw your own vertical line to go by. You’ll use this as a guide when you apply the paper.
Step 5: Apply the first piece of wallpaper.
Peel back two to four inches of wallpaper to start and align it with your starting line. Moving from top to bottom, press and smooth the wallpaper against the wall, peeling off the remaining backing as you go.
Step 6: Apply the rest of the wallpaper.
Carefully align pieces and keep a straight line. This will be easy with solid colors and get trickier the more complex the pattern. Press firmly in the center and smooth out toward the edges of each piece to minimize air bubbles as you go.
Step 7: Handle the tricky spots like a pro.
Applying around outlets and fixtures can also get tricky. Measure as best you can. Once you encounter a window, door frame, or outlet, let the wallpaper overlap it. Once the piece is applied, use a straightedge and utility knife to trim around the obstacle and remove the excess paper. Next, smooth the paper against the wall around all sides of the outlet or window. For electrical outlets and switch plates, ensure the power is still turned off and use a utility knife to cut away the paper over the opening carefully.
Step 8: Make the final touches.
Fix any spots that look off and smooth out air bubbles. Most paper should peel off and reapply easily to adjust. A shower squeegee makes a great smoothing tool.
Step 9: Redecorate.
Replace outlet covers, fixtures, frames, etc. Admire your handiwork and enjoy your fresh, personalized space!
Step 10: Remove the wallpaper.
So what do you do when it’s time to remove the temporary wallpaper? Simply peel off each piece starting from a corner. That’s it! A quality, apartment-safe wallpaper should leave no residue or marks.
Make your new place move-in ready with CORT Furniture Rental
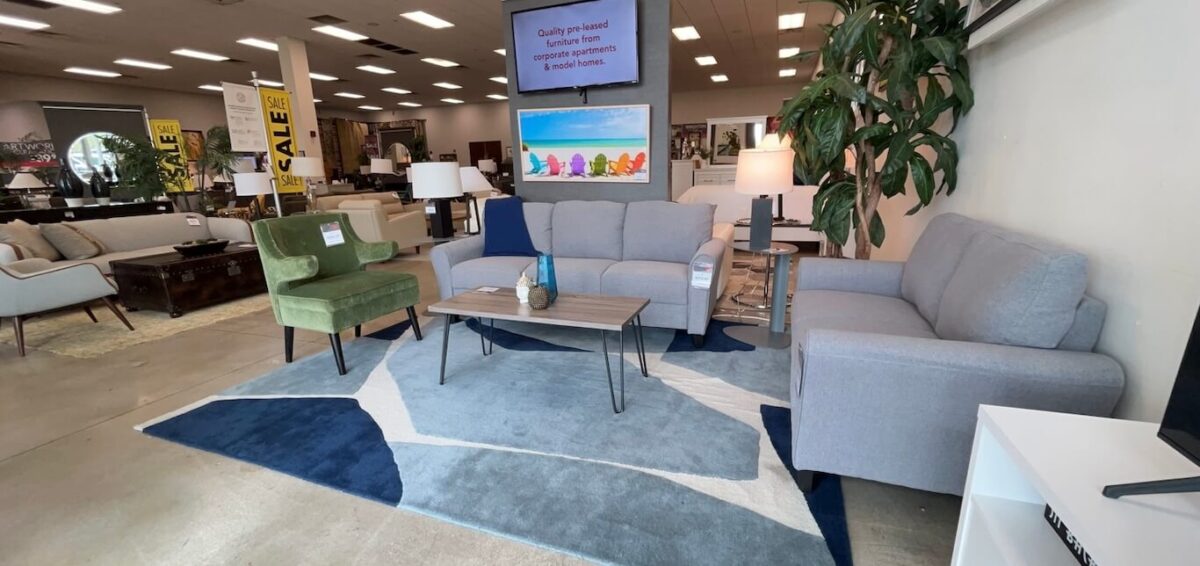
The best time to apply temporary wallpaper for apartments is before you move in! If you’re gearing up to move to a new apartment community, find out if renting furniture is a good fit for you! Not only does a furniture subscription free you from having to buy expensive, brand new furniture for your new place, but it also includes delivery and set-up! In addition, you don’t have to worry about moving heavy furniture into your new place — CORT Furniture Rental takes care of that for you. Start browsing furniture rental packages online today!


